Mishima Technique with Kathleen Royster
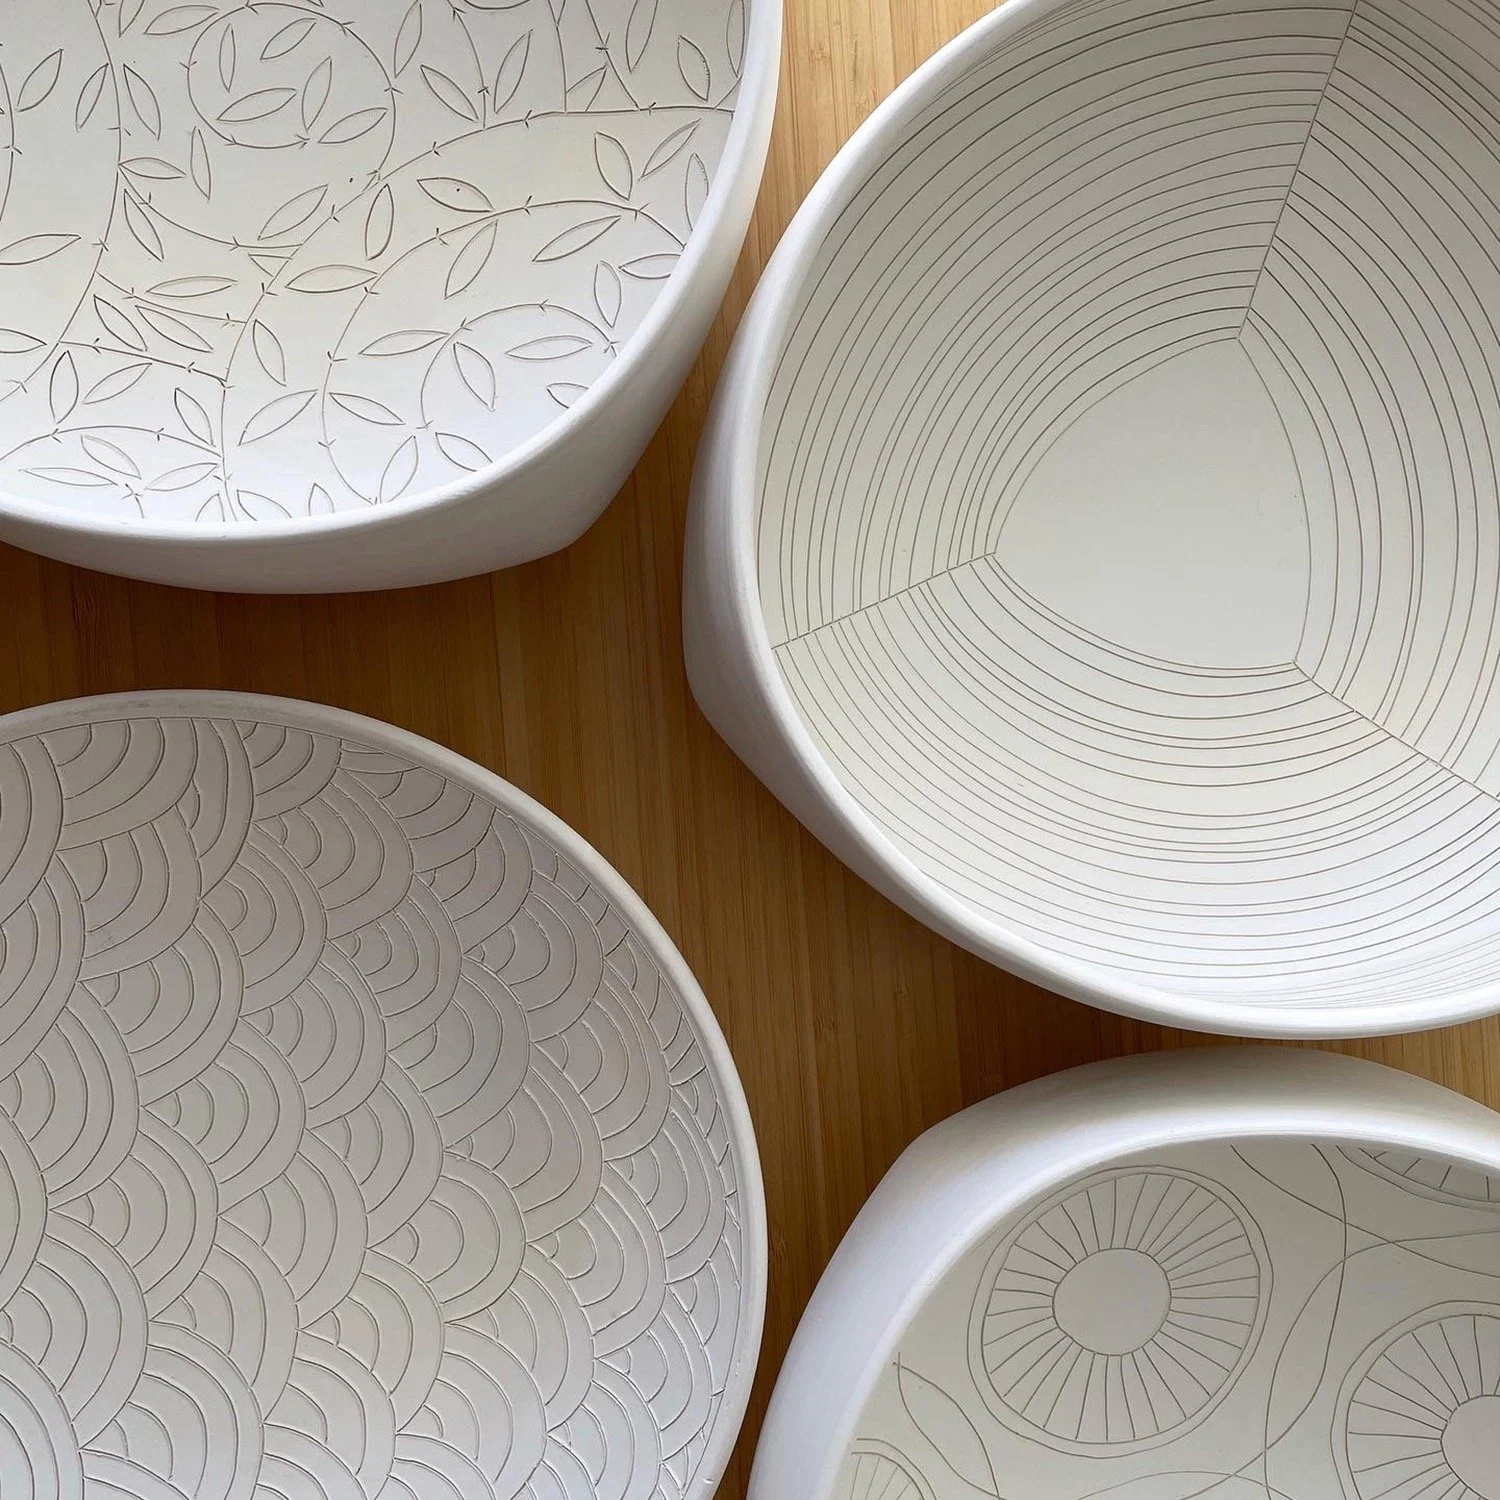
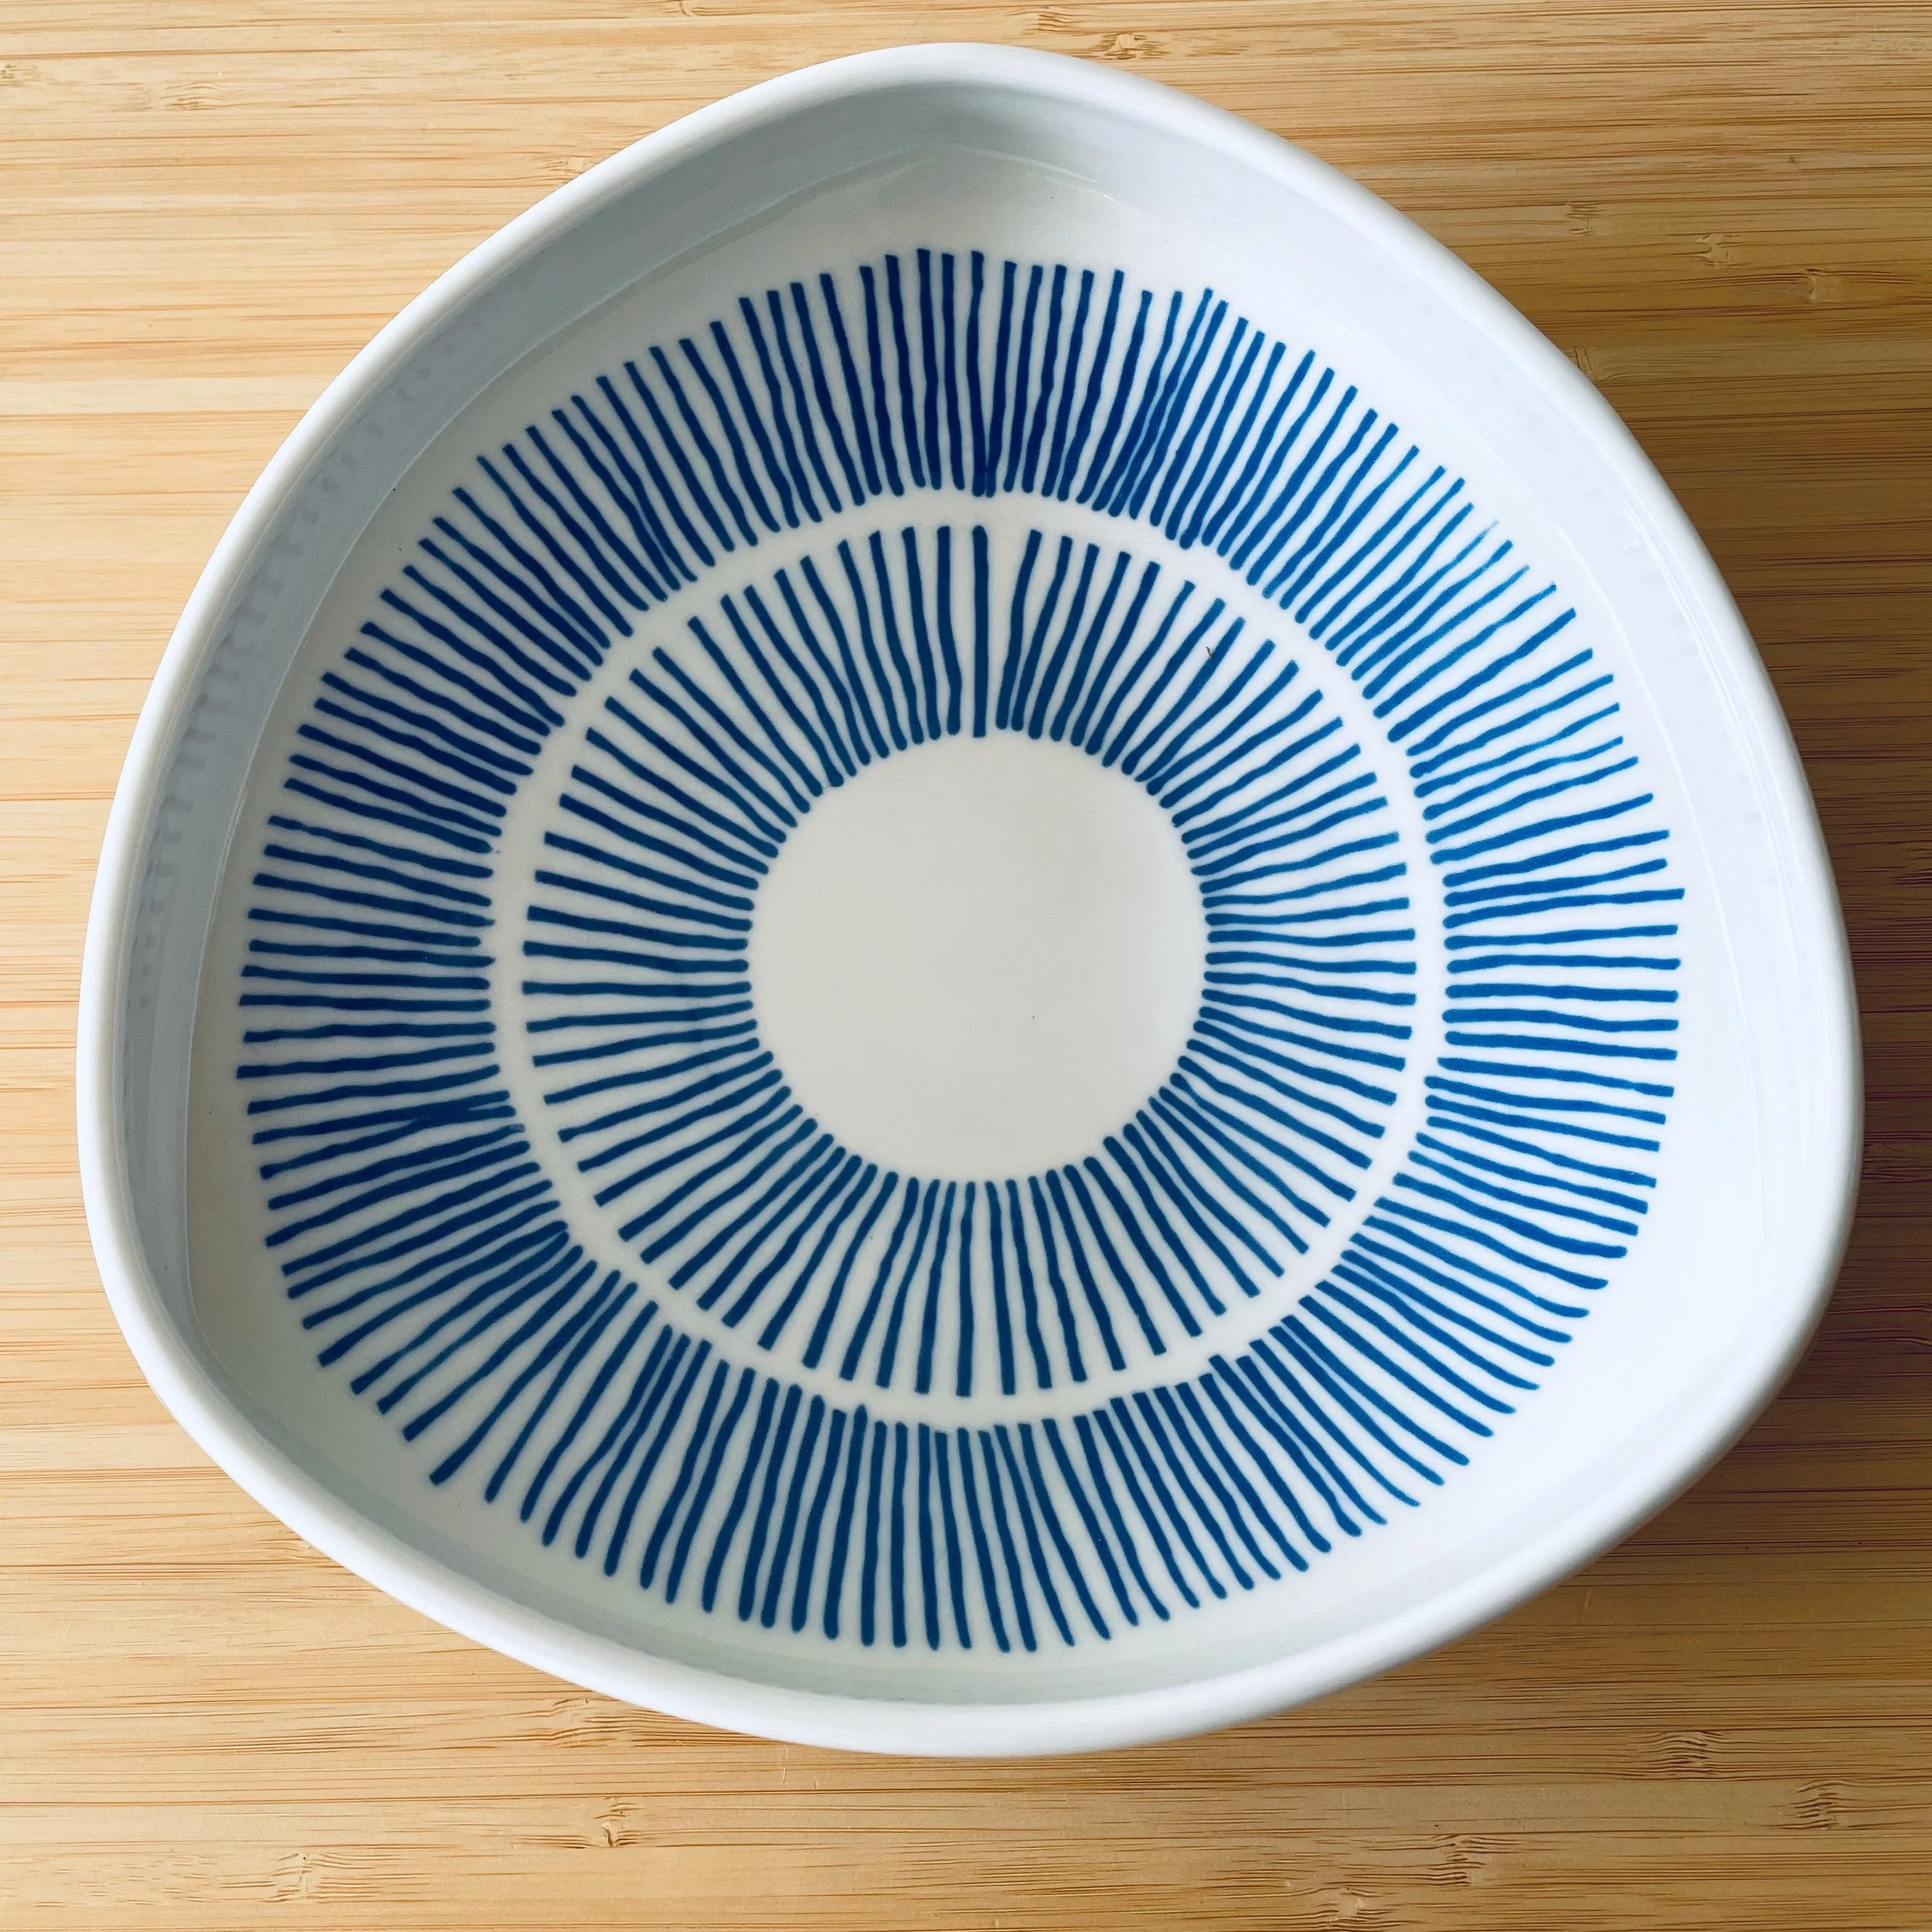
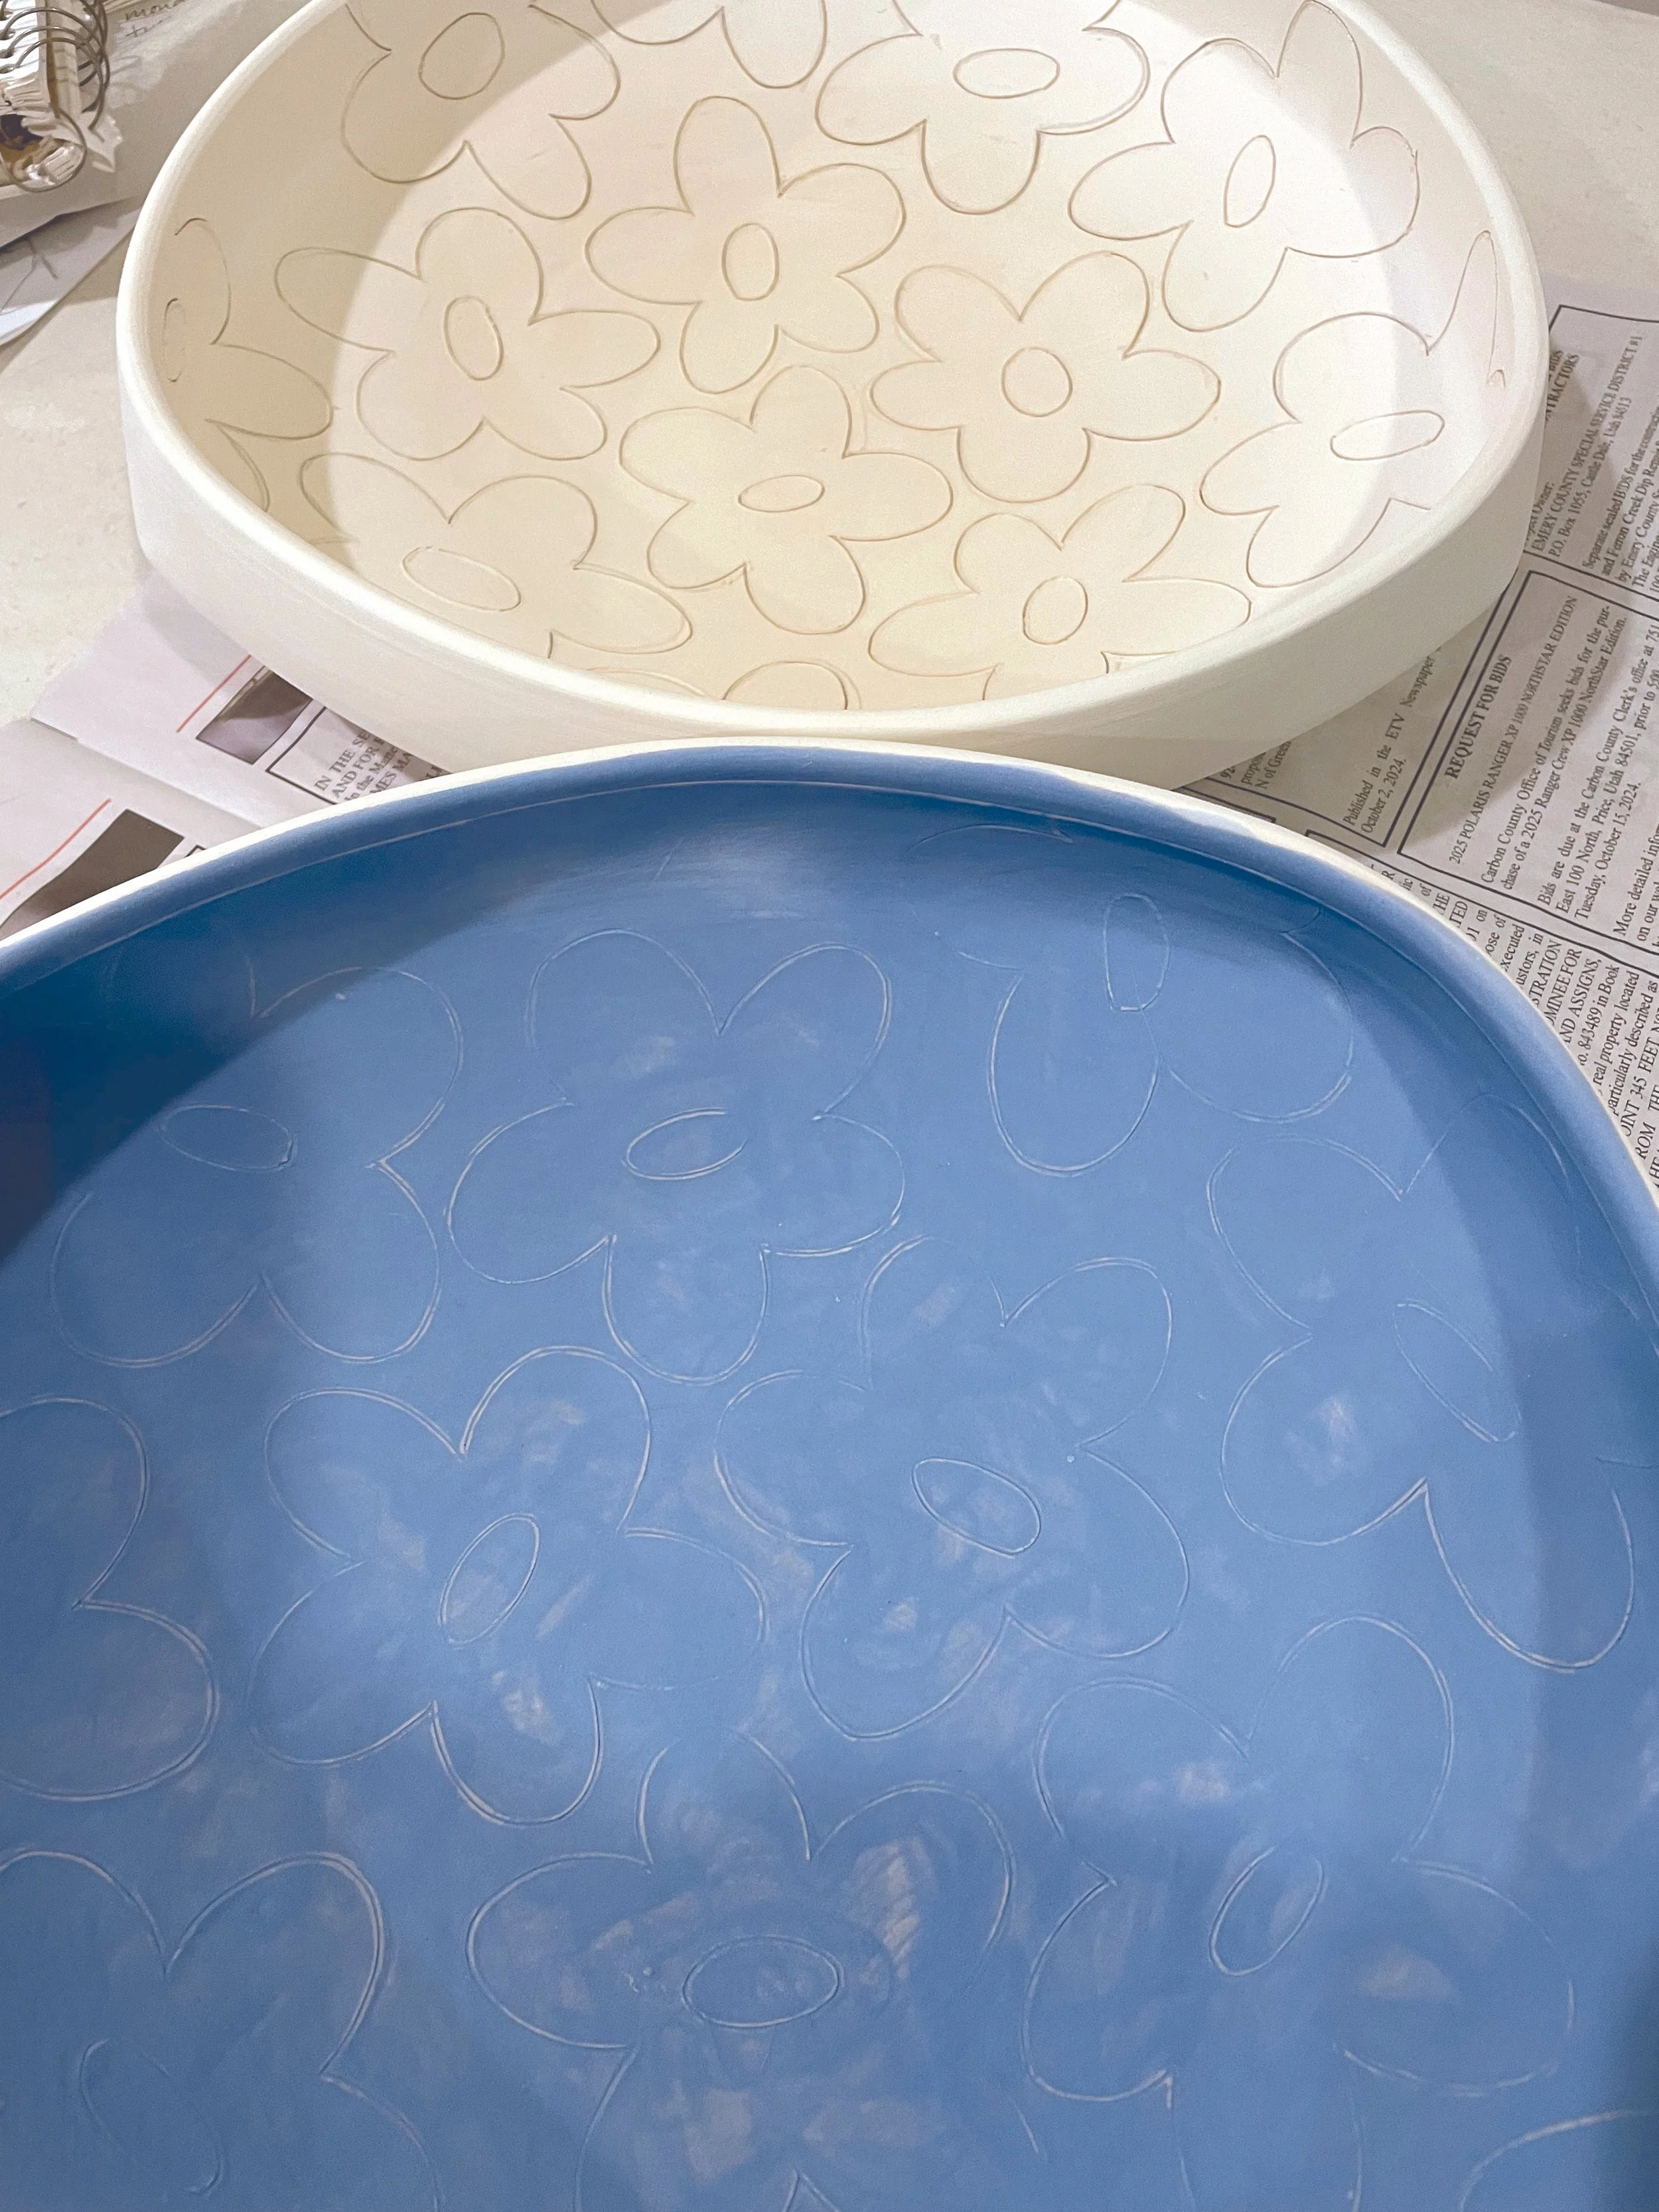
I use a cone 10 porcelain and incise a simple design with repeated elements. Using leather hard clay to draw on gives a clean line vs. bone-dry which will give a ragged line.
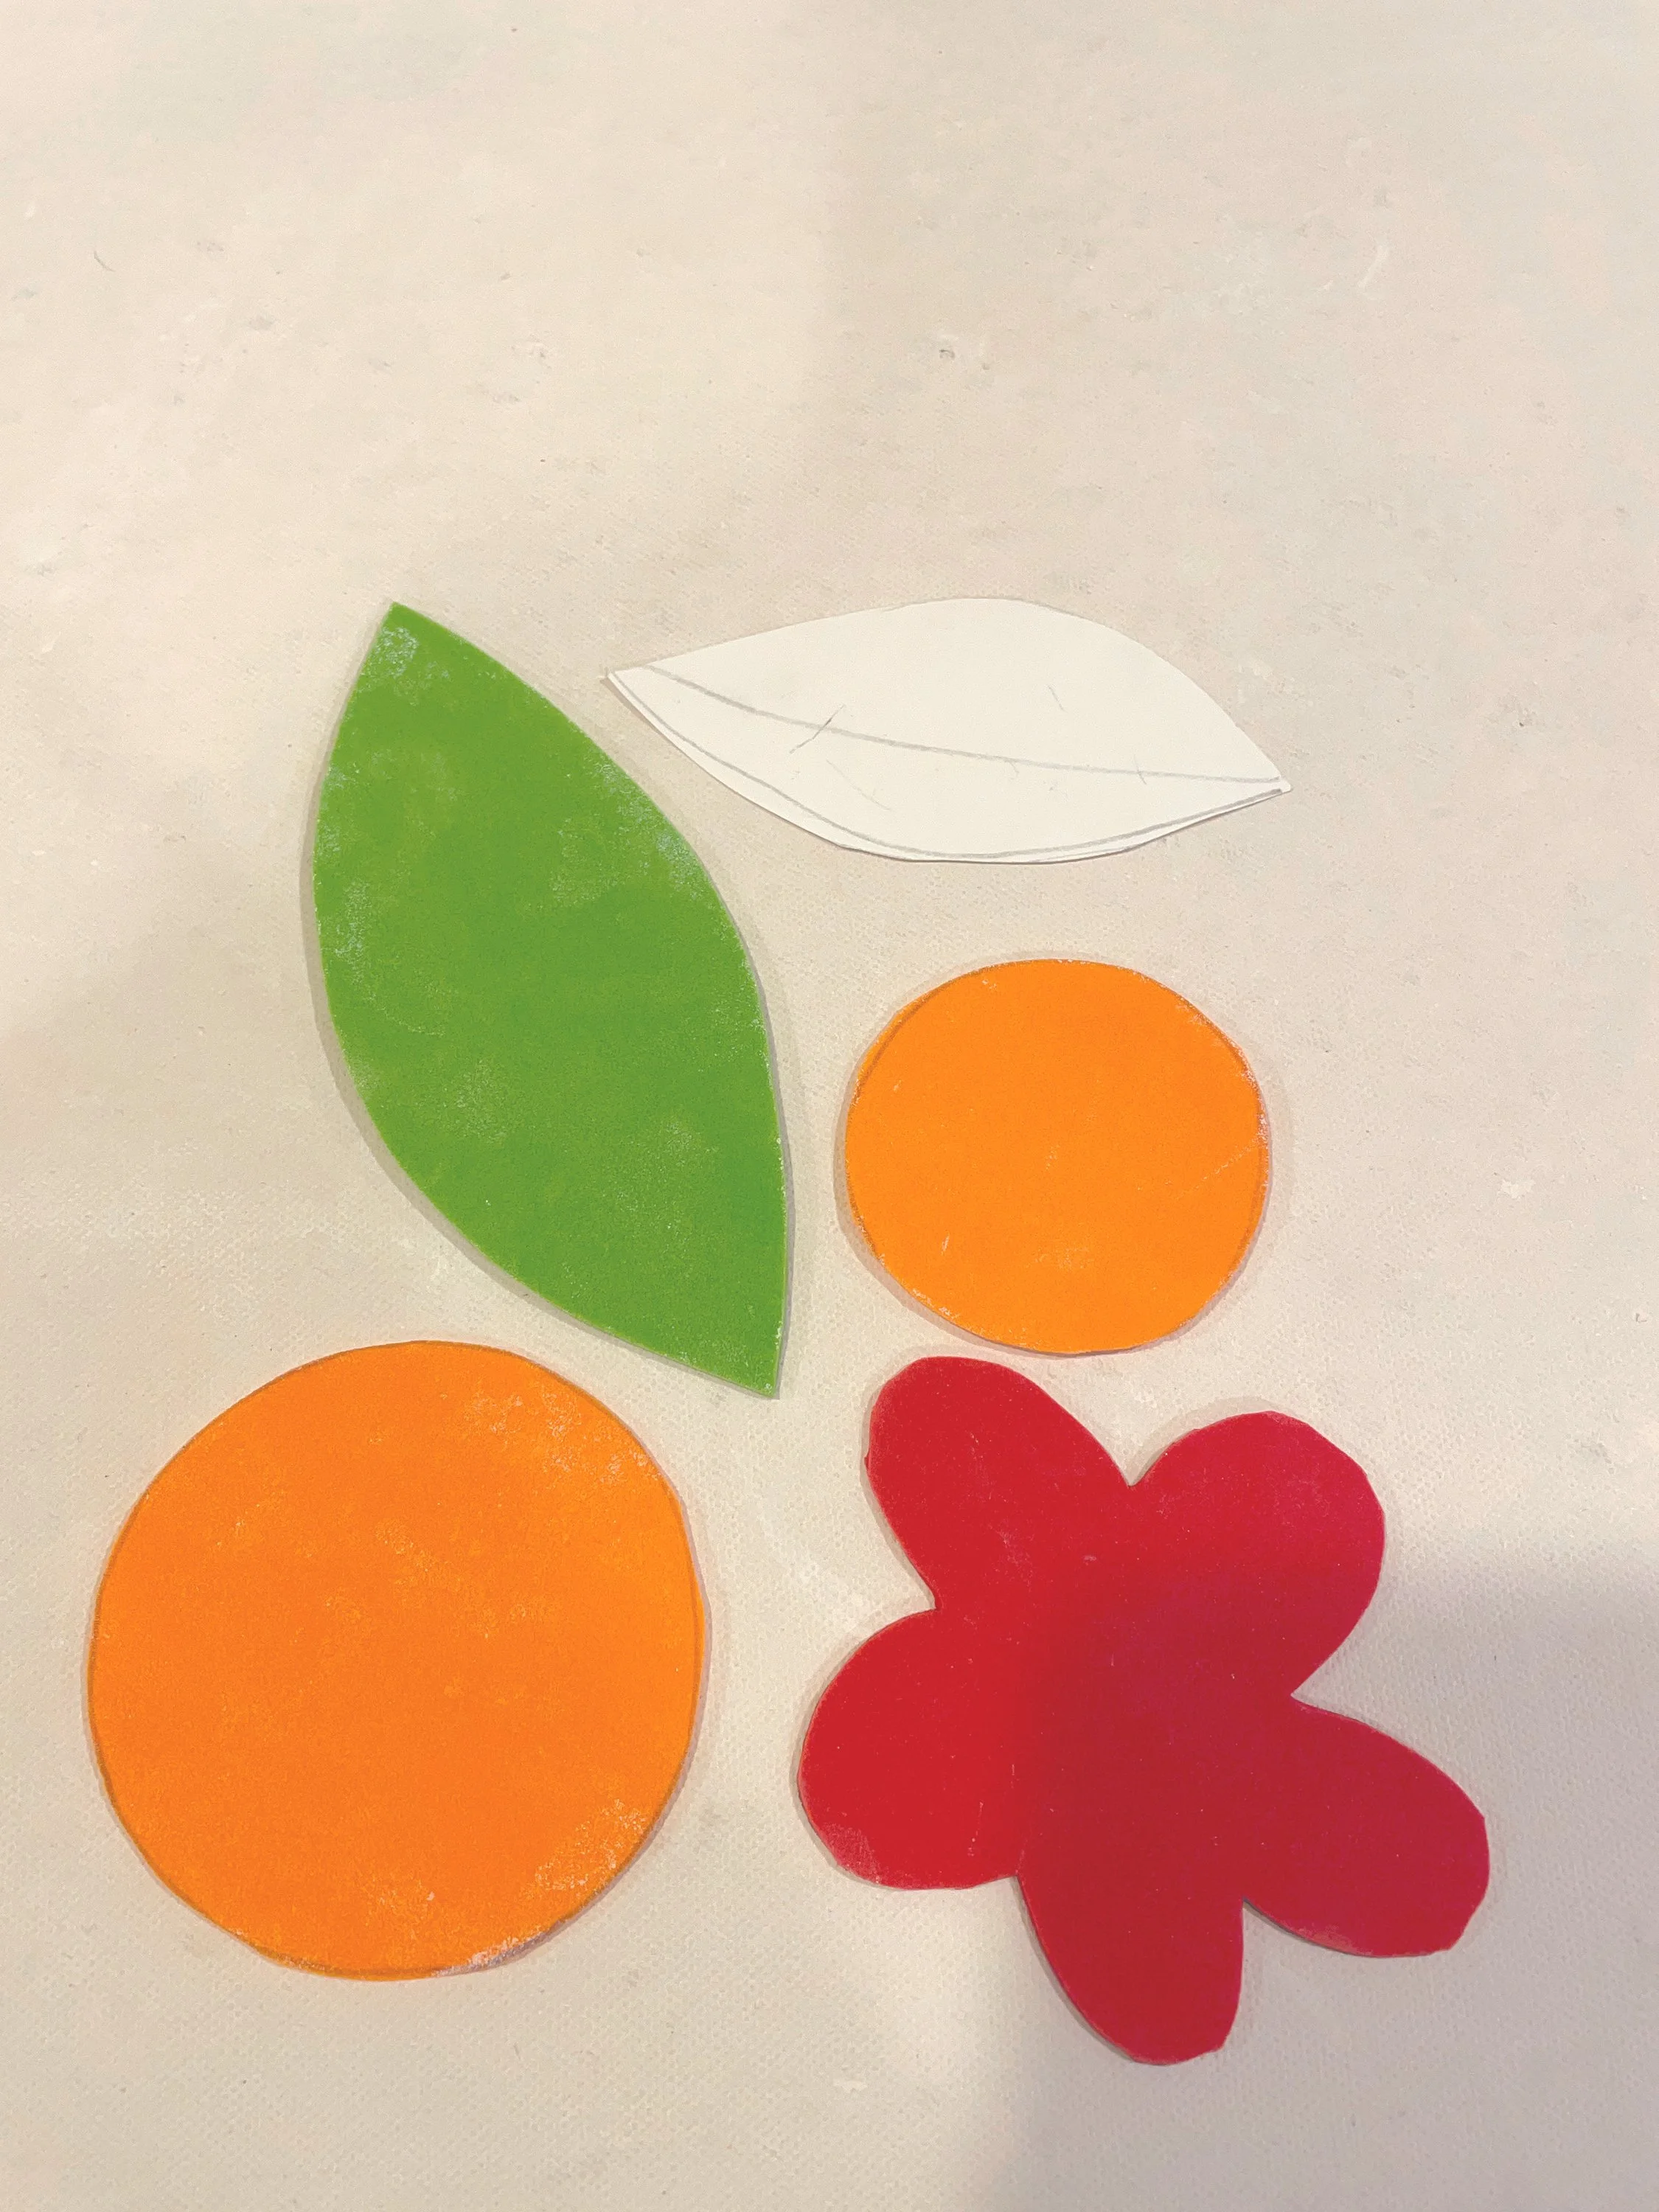


Cut out stencils using paper or hobby foam.
Your mark making tools can vary in width for different effects. Try small loop tools for wide lines, and X-ACTO knife for delicate thin lines.
Try propping your piece up at eye level to help drawn straight lines pulling downward letting your arm drop.
Using a wider mark making tool gives a definitive bold line.
An X-ACTO knife will yield a concise line.

There is beauty in repetition. IMPORTANT - Let your pot dry completely to bone dry.
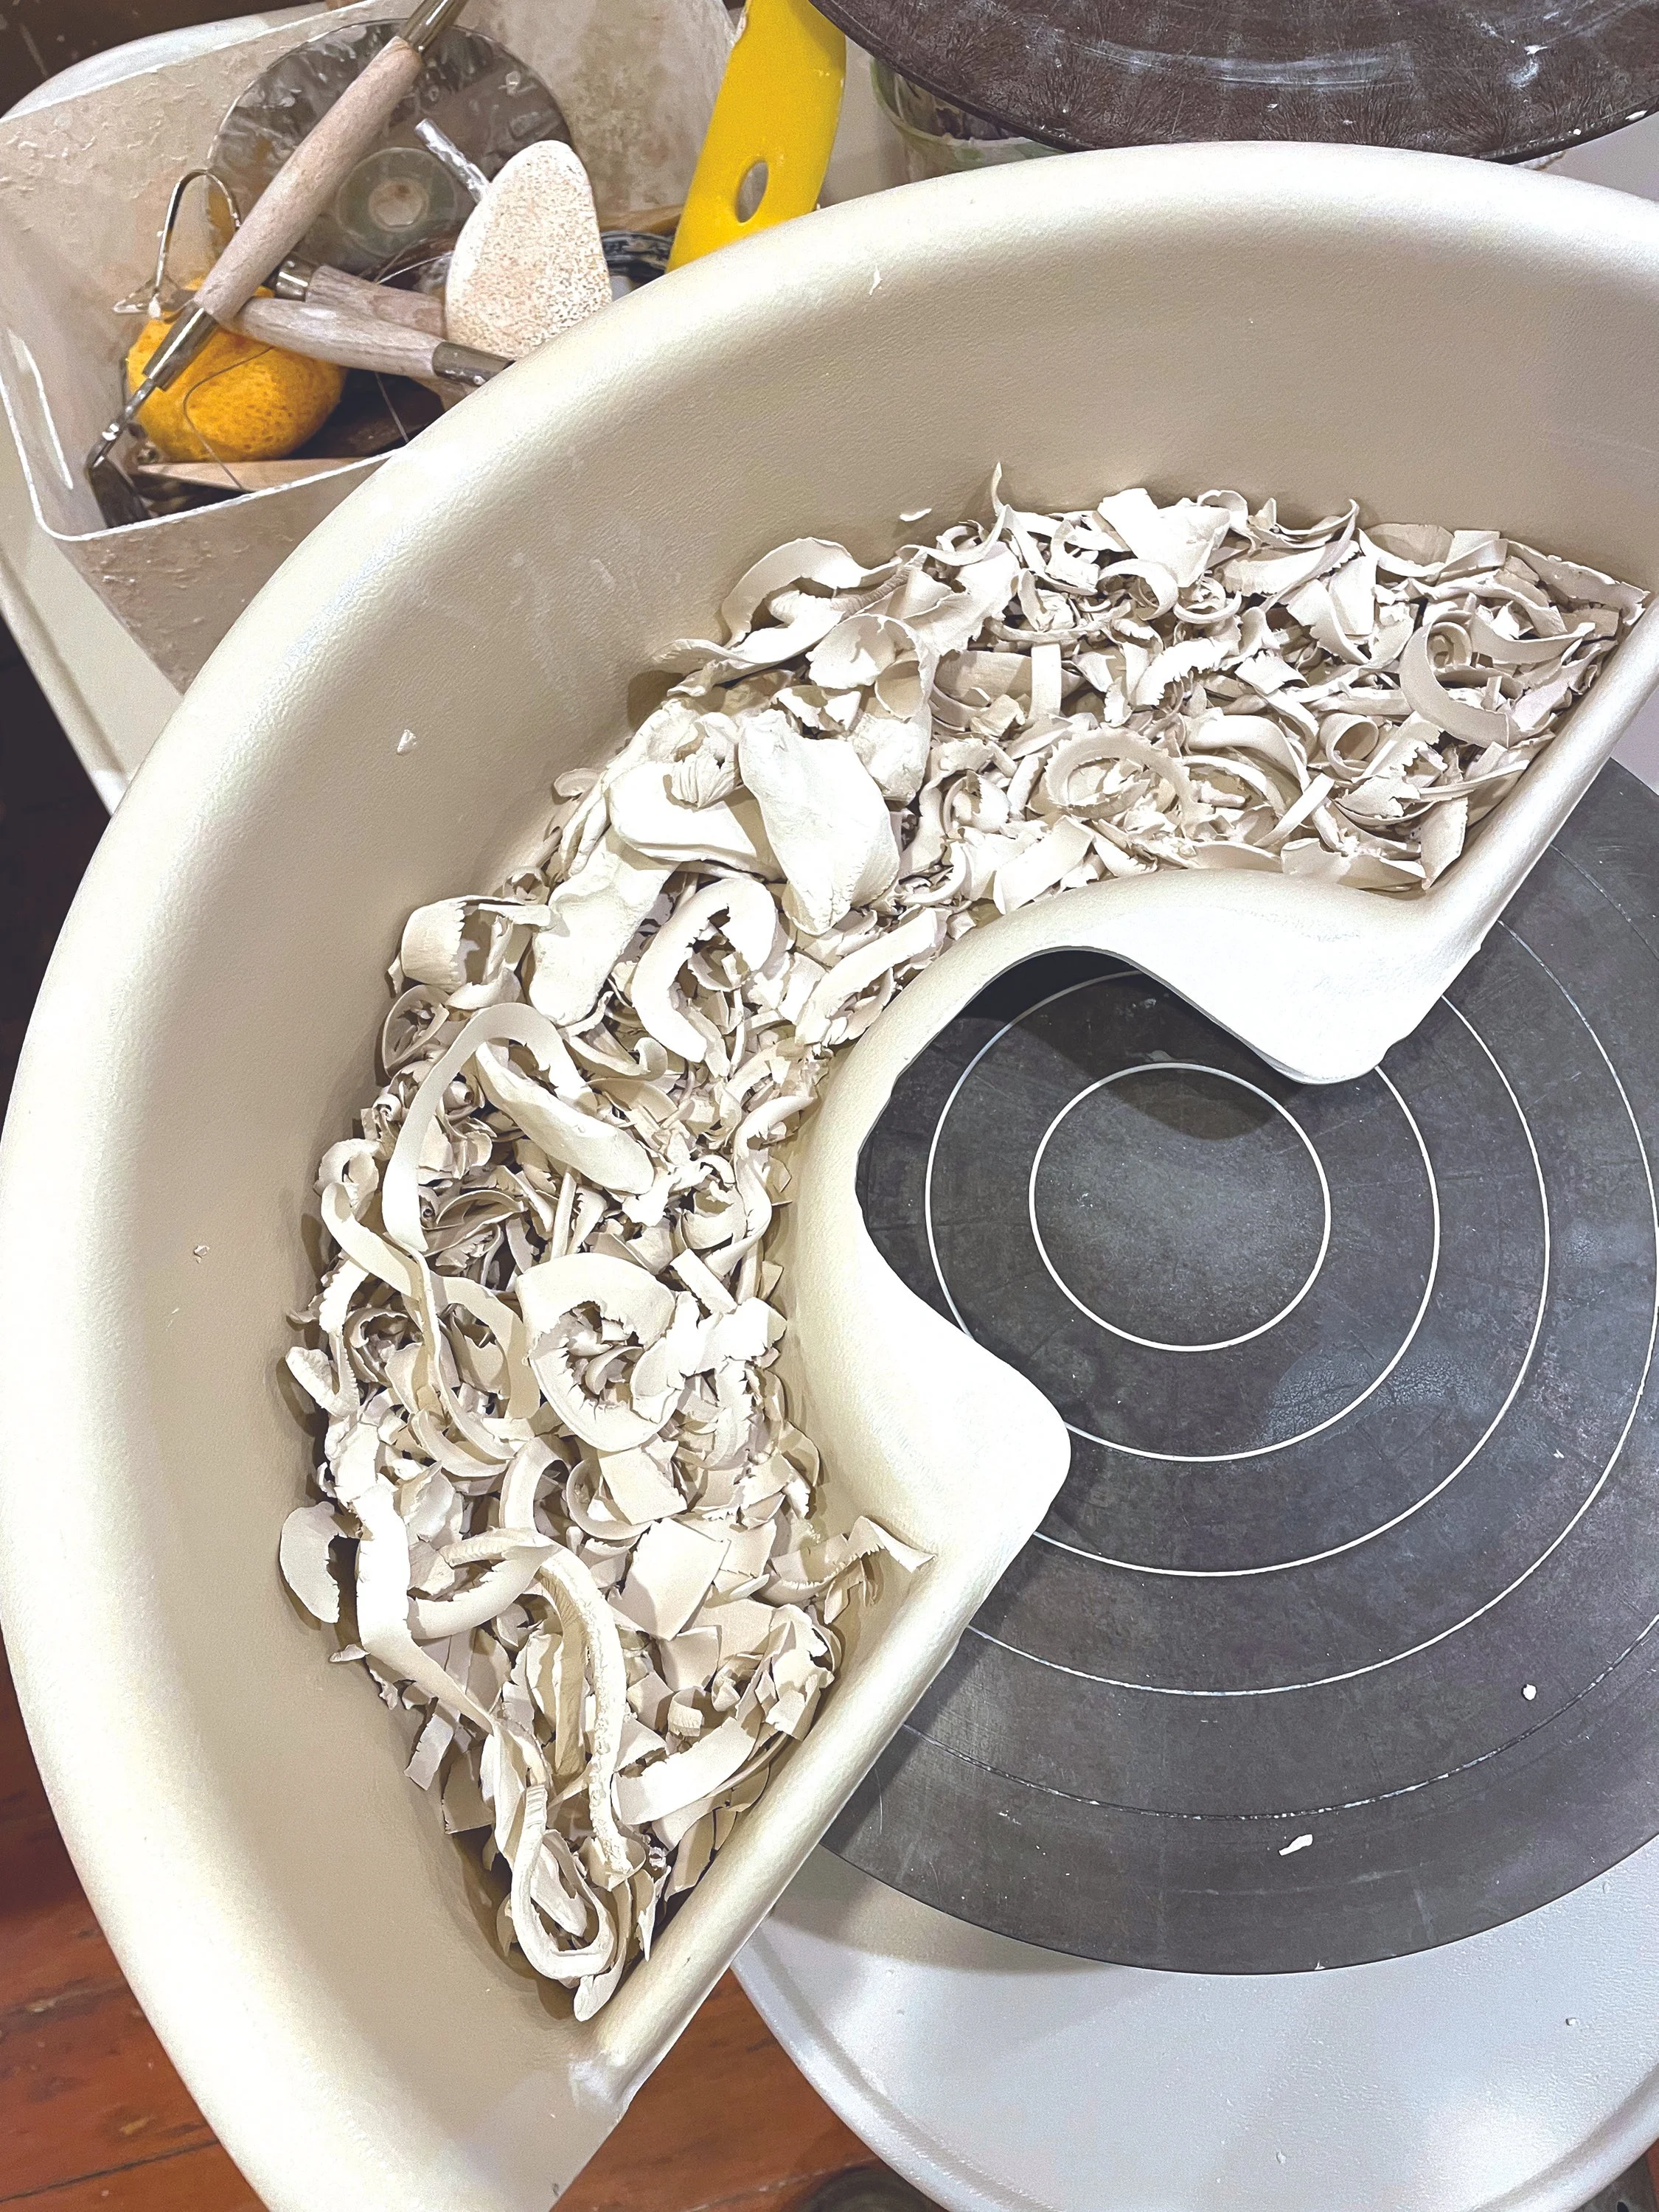

There are a couple of options for your slip: you can use a commercial underglaze or make your own slip. Clay trimmings slaked down into the consistency of pudding is where I start.
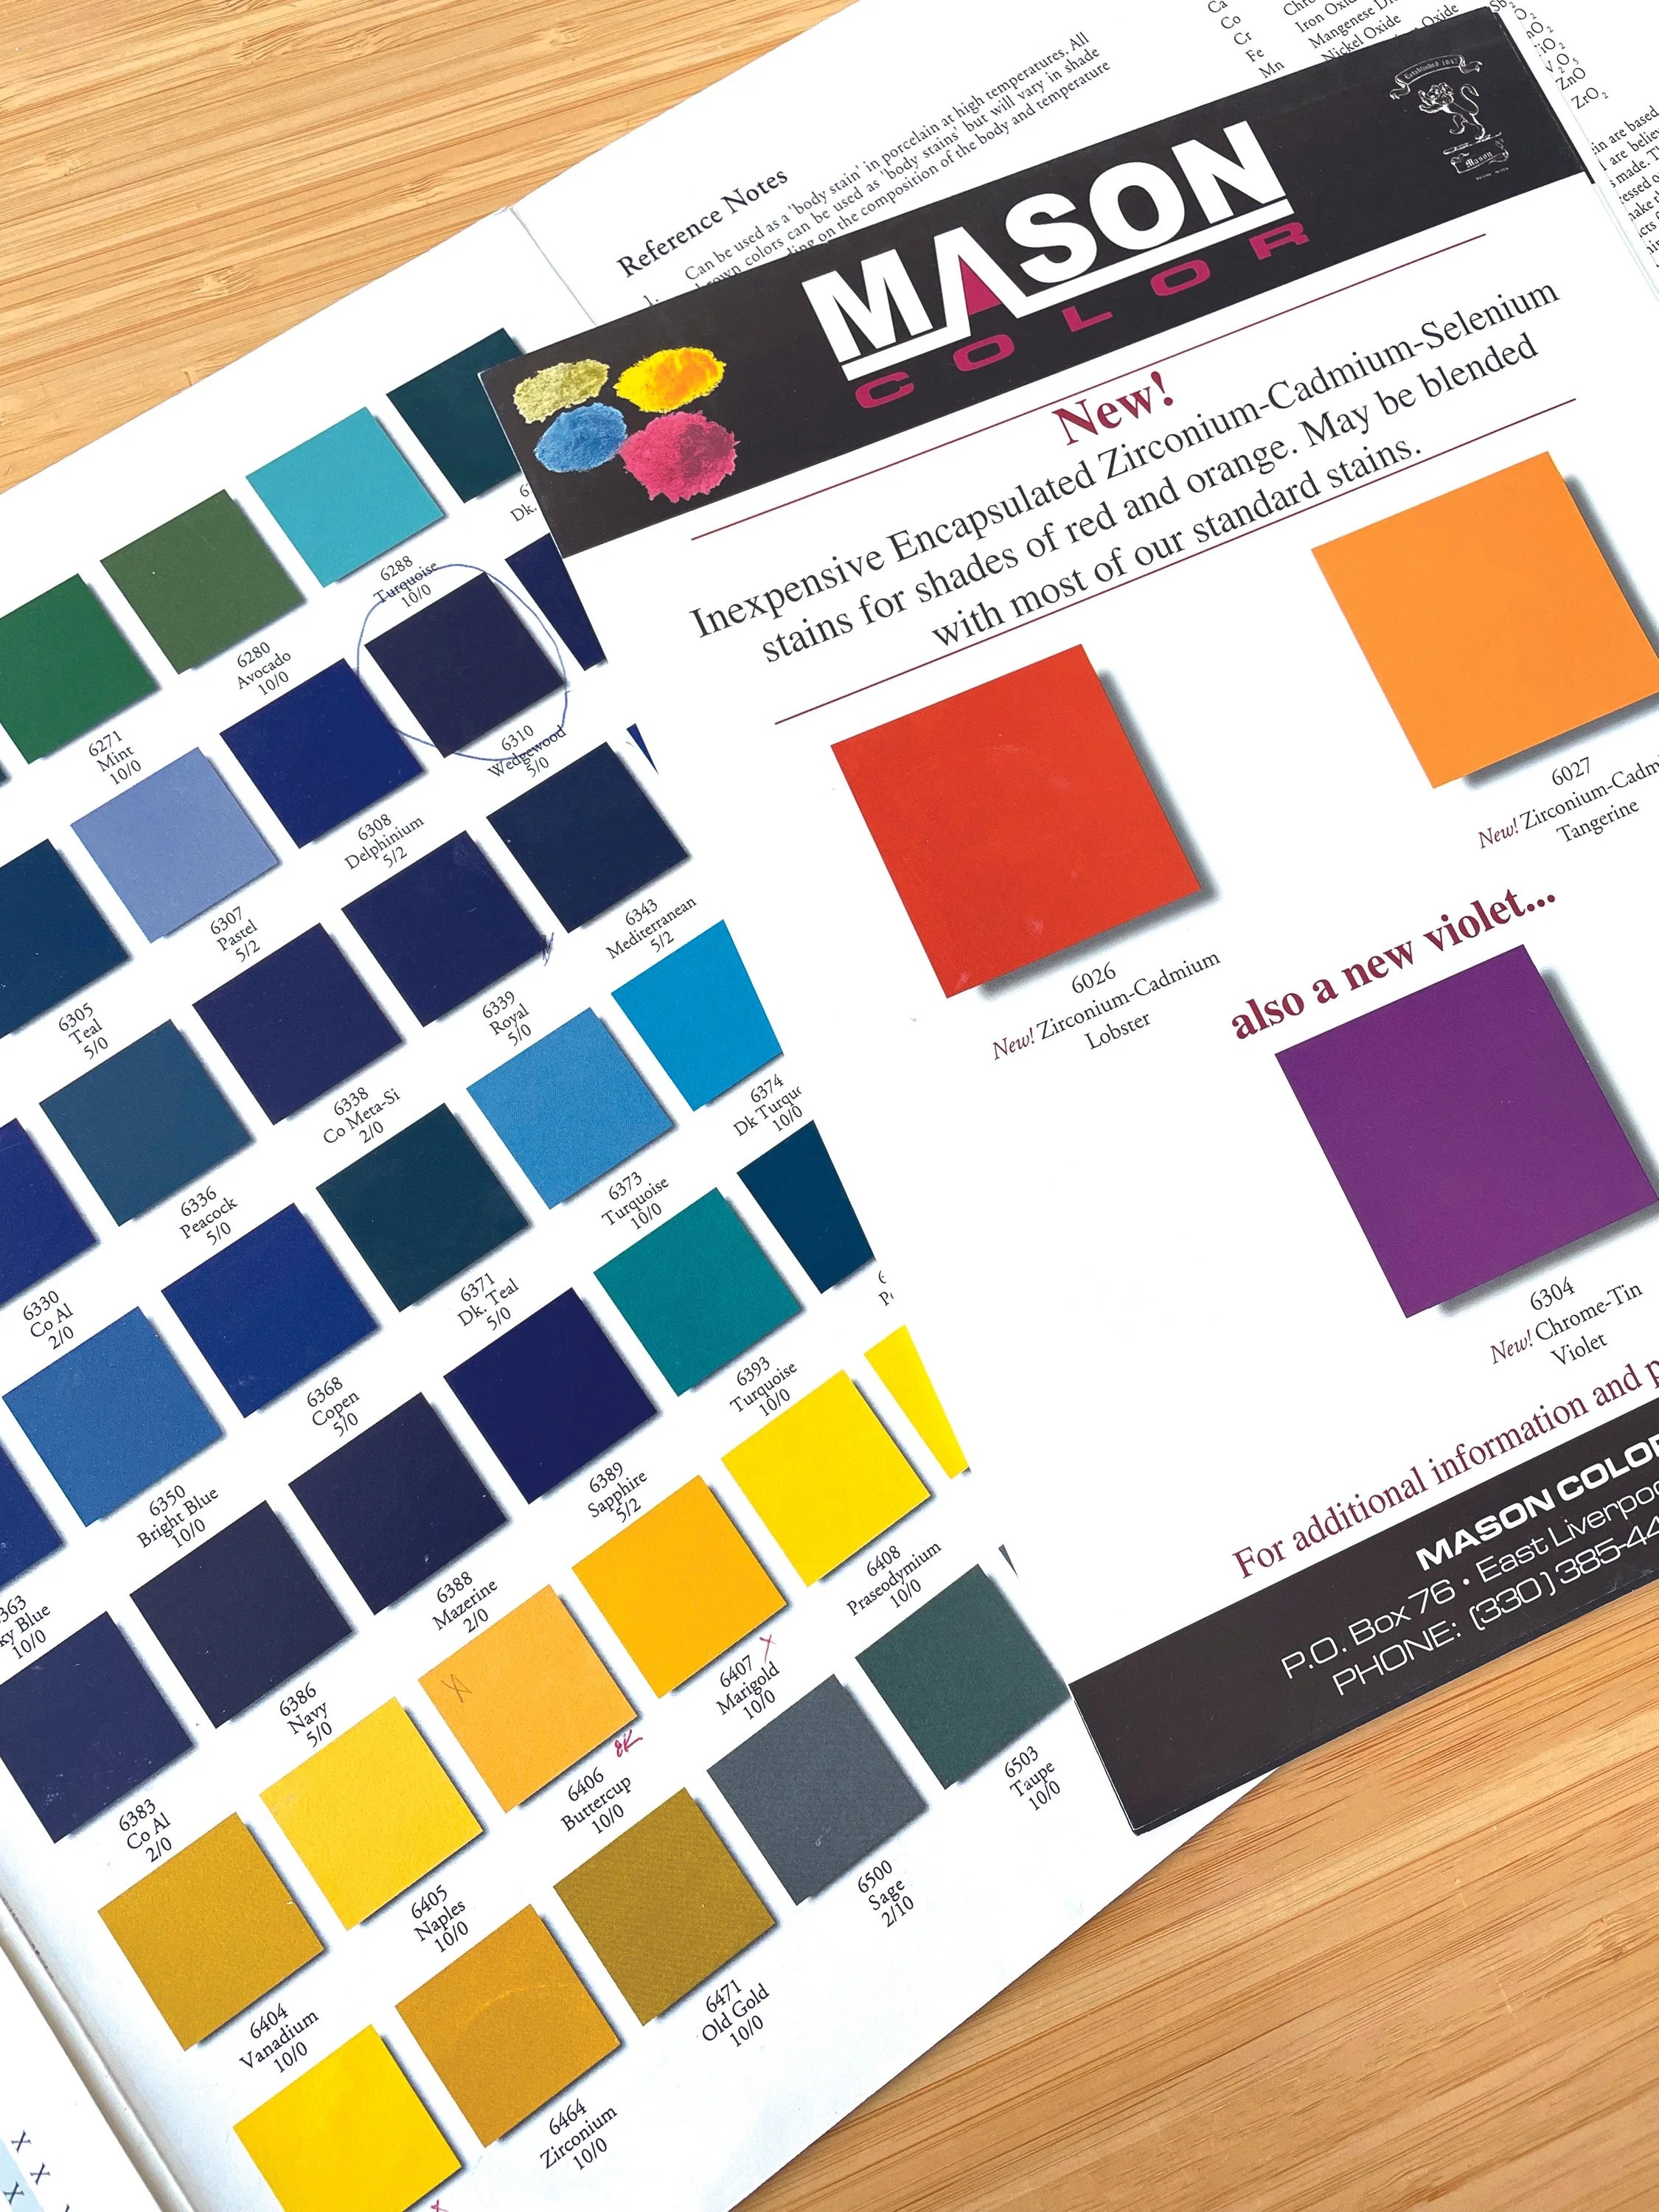
When making your own-colored slip Mason Stains provide a stable option. Note: some stains burn out at high temperatures mostly pinks and reds. Mason has developed an encapsulated stain that protects the pigment so you can use at any temperature.
After slaking down the clay add 10-15% stain into the slip and then screen for even consistency.
Depending on the width of your lines add water. Thick lines will require thick, pudding like viscosity and thin lines require a watery like slurry.
Using a Japanese paint brush, work the slip into the cut until you’ve built up the layer of slip even with the surface. The more you work with this technique the easier it gets.


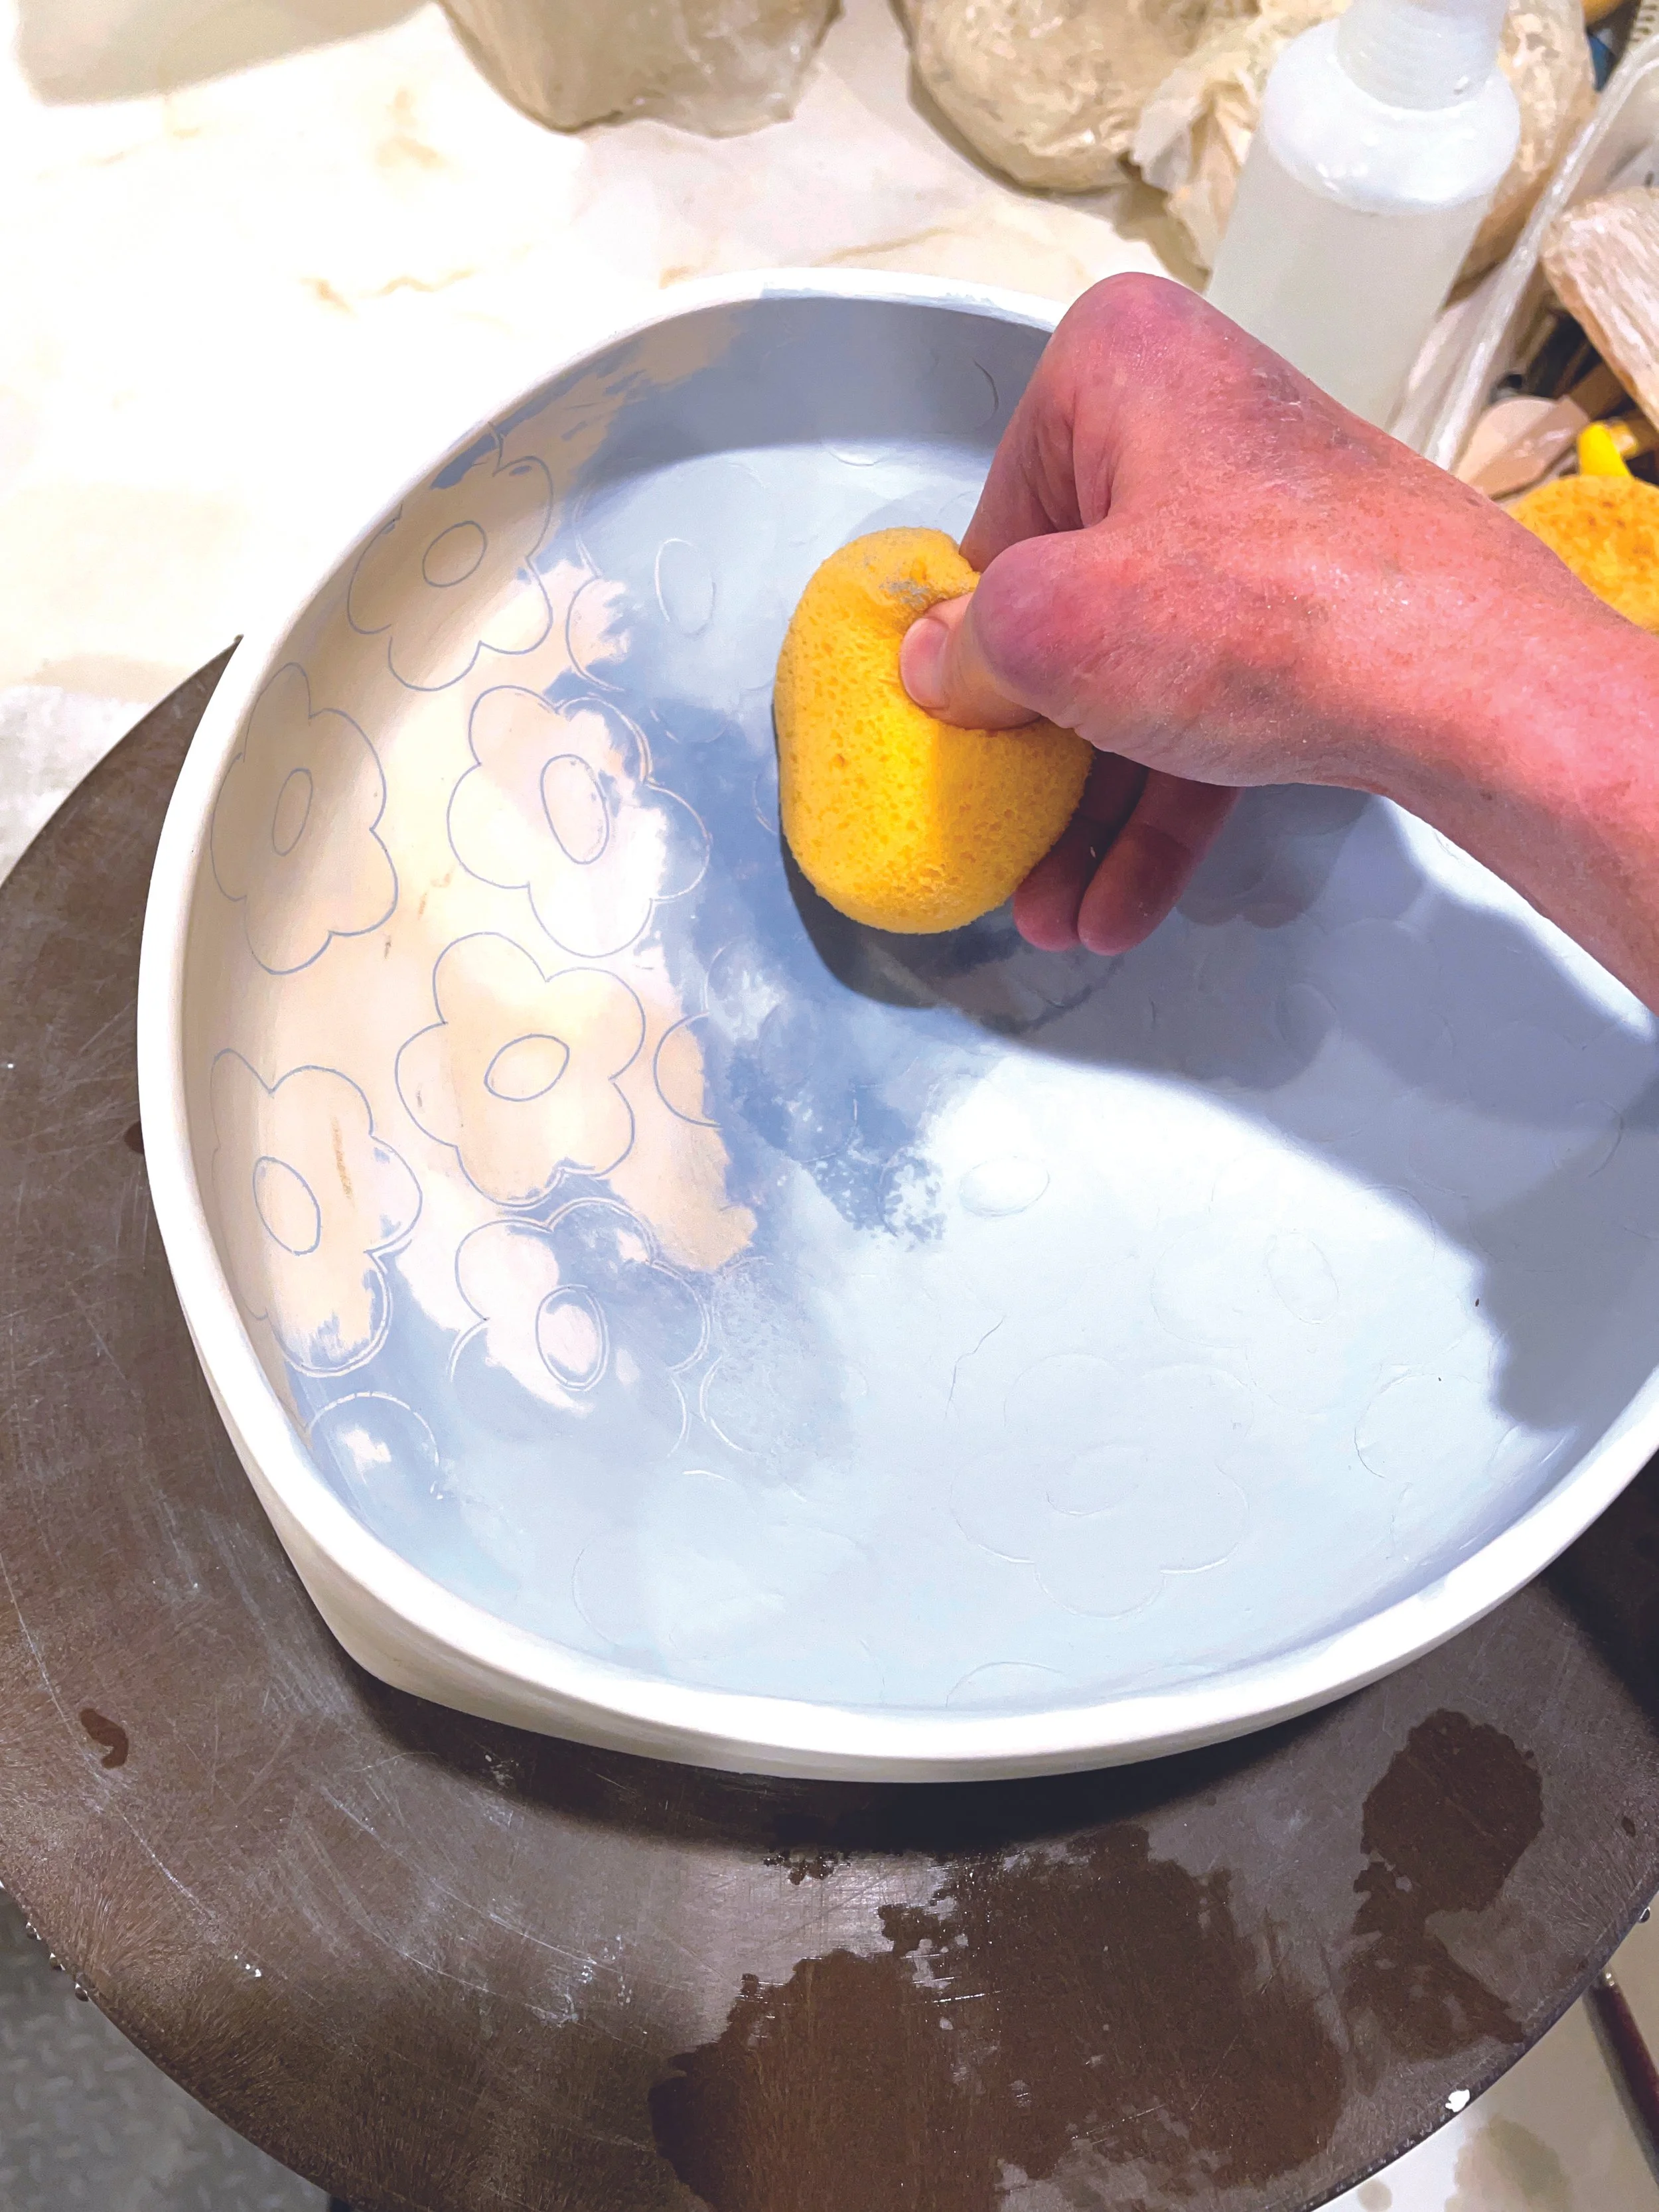
IMPORTANT – let your pot dry out again to bone dry. Remember, working in ceramics is ‘the art of moisture management’!
Once your pot is dry, take a wet sponge and gently wipe the slip off the surface leaving the contrasting slip in the cuts.
This step leaves clean lines of your design. Let the piece dry and bisque-fire to cone 04 then glaze.